


 Q2 2025 CONTENTS OF EARTH")

Our family gets great happiness from our Holiday arrive that I decided to make a Halloween count October. This primary project is made with glue, so it’s easy to gather without a need to sew.
Related: Check our all Halloween Archive In decorating schedules, recipes and more! You have been booed (with free print),, Halloween cake pops,, Caramel apples.
 Aunt Emma (as he was known to my house) I have an idea to make our girls a halloween countra calendar. I immediately spoke “Yes, you’re good.”
So why doesn’t it start with this fun (and very looking!) Tradition to enjoy a little Halloween magic all over the month of October? I have so much designed to make a Halloween version of Christmas Arrival Calendar Because we love that.
We do this Halloween activity activity. My suggestion is to use a mix of activities and then in a few days, just put in a candy. And, use a calendar in the strategic place to place the weekend movies (or any changes that are best for your family routine).
Feel free to add your own activities and traditions. The print we made is the most thing that my little kids can enjoy and nostalgia from my childhood. Other things you can include stickers or coloring pages. Adjust it to suit your kiddos!
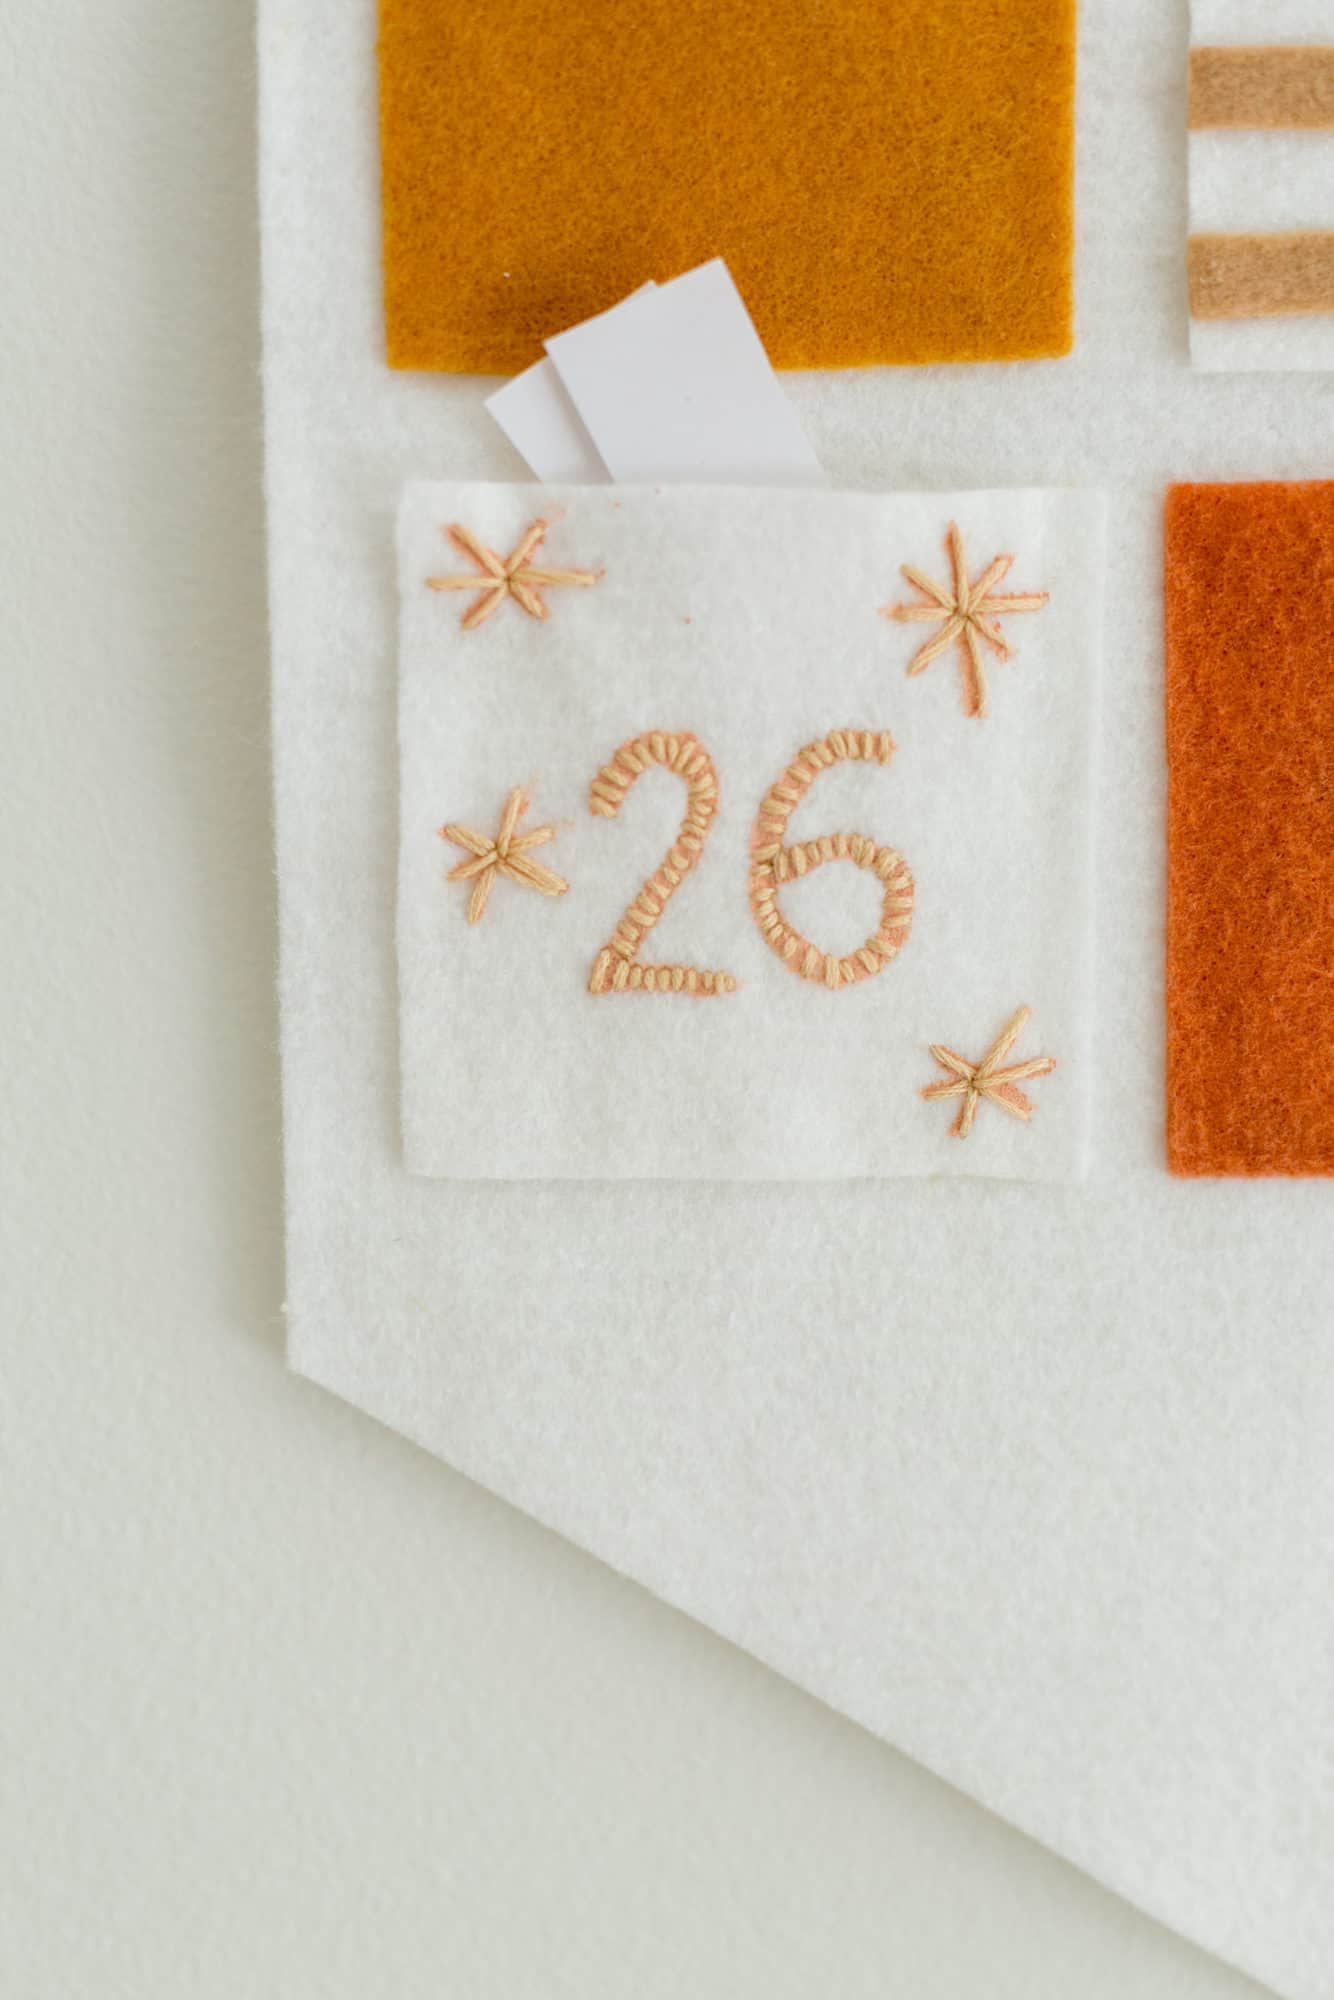
As far as DIY goes, it’s a great simple project. I finished it in a two-day period. I may have spent about 4-5 hours on it. It takes half an hour if you just remove the stitching of the embroidery, but I’m glad to do that and like to see it.
Uses:
-Dowel Rod
-large piece of feel for the banner (I get a half yard in the craft store).
–CoHappy feeling for the pocket
-To for pockets (many buttonSome embroidery, stamps with permanent ink, a small paint, and some Stars trees).
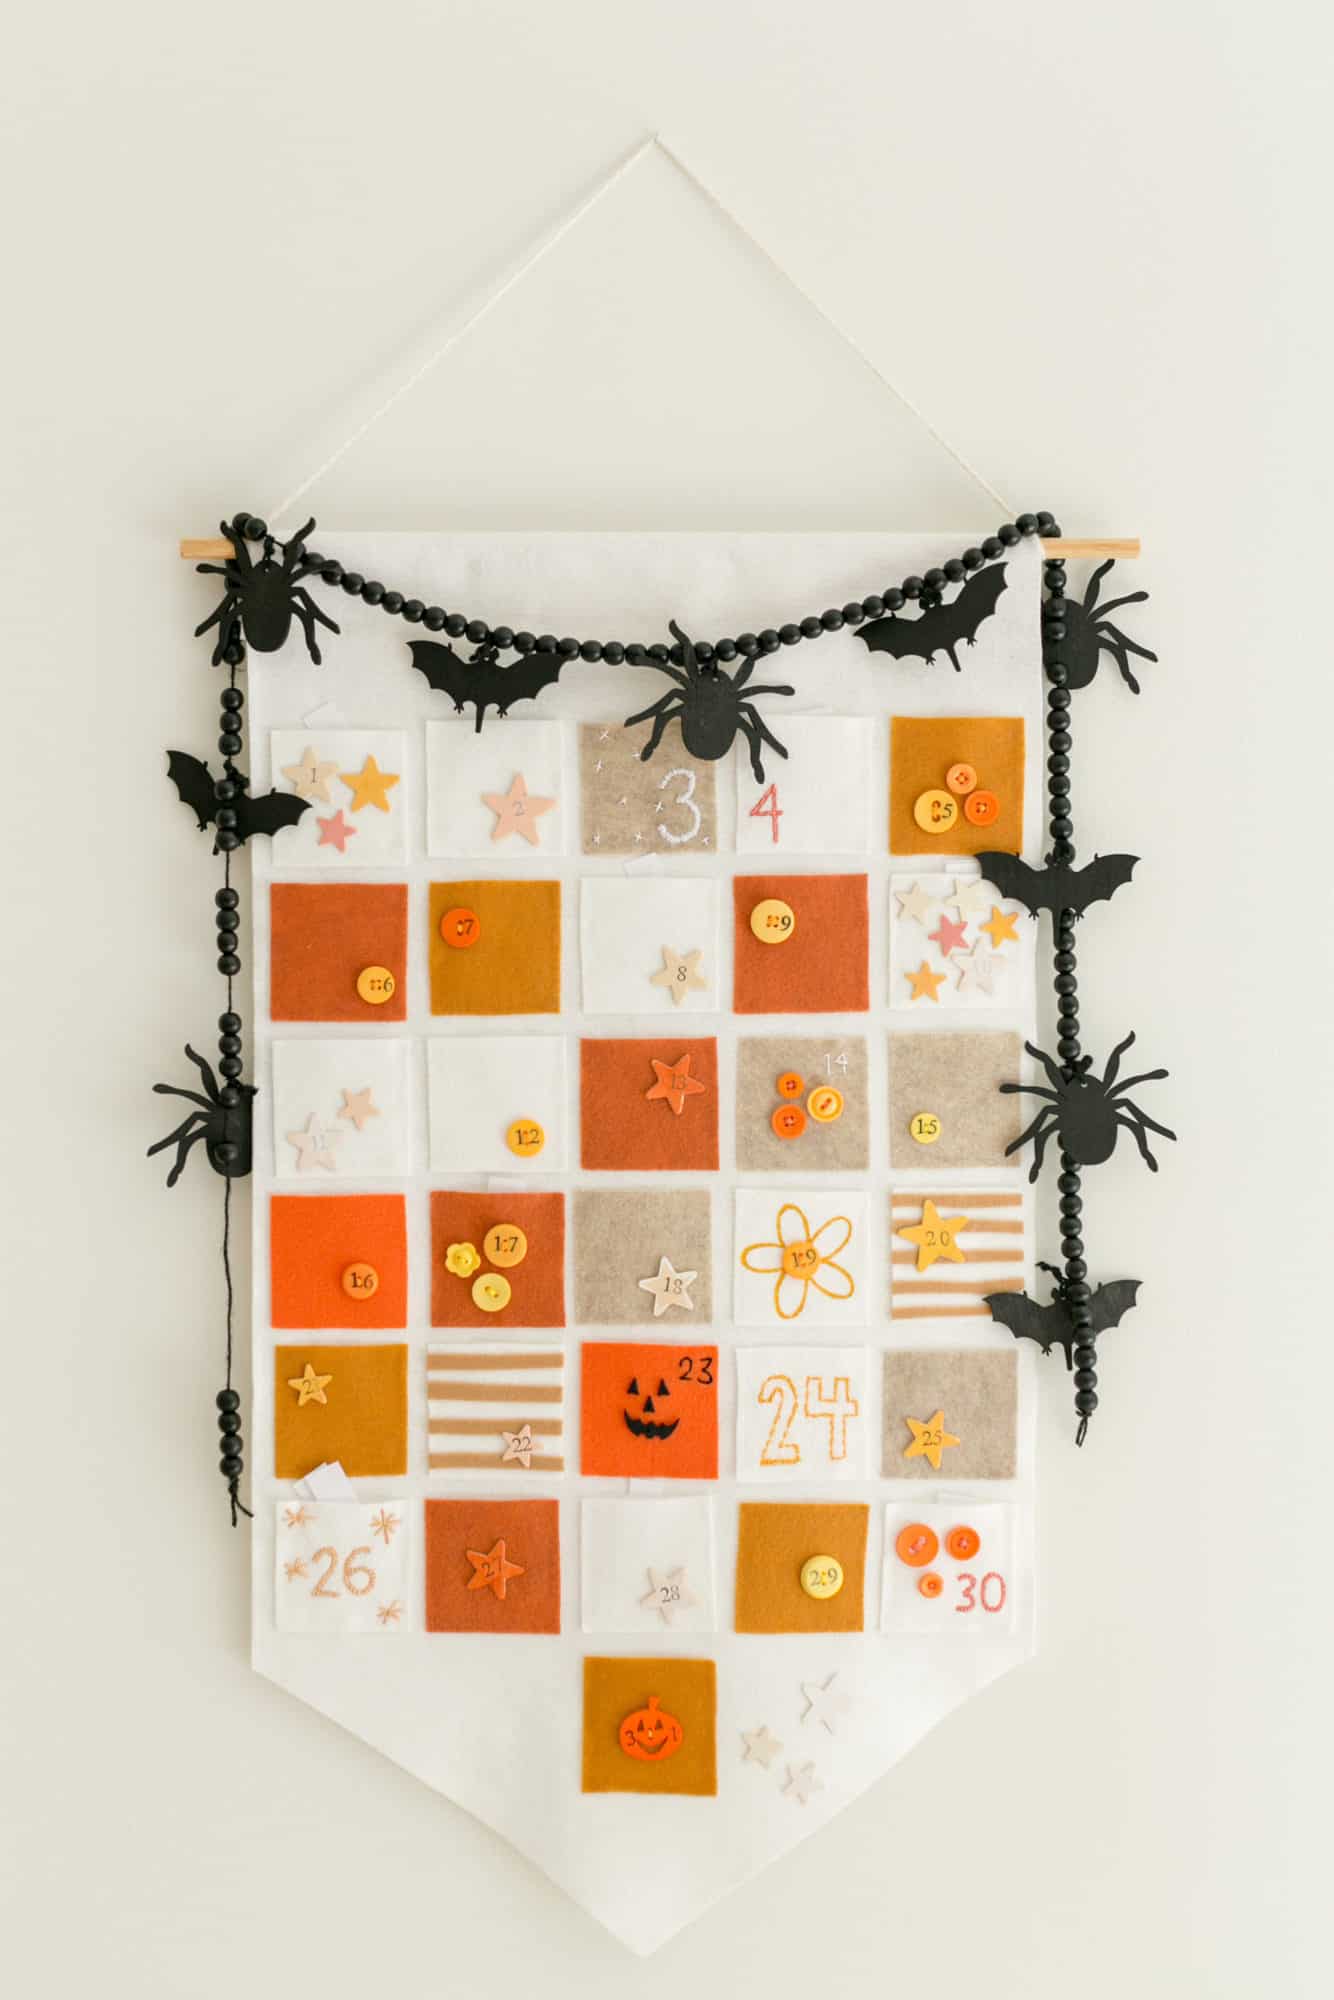
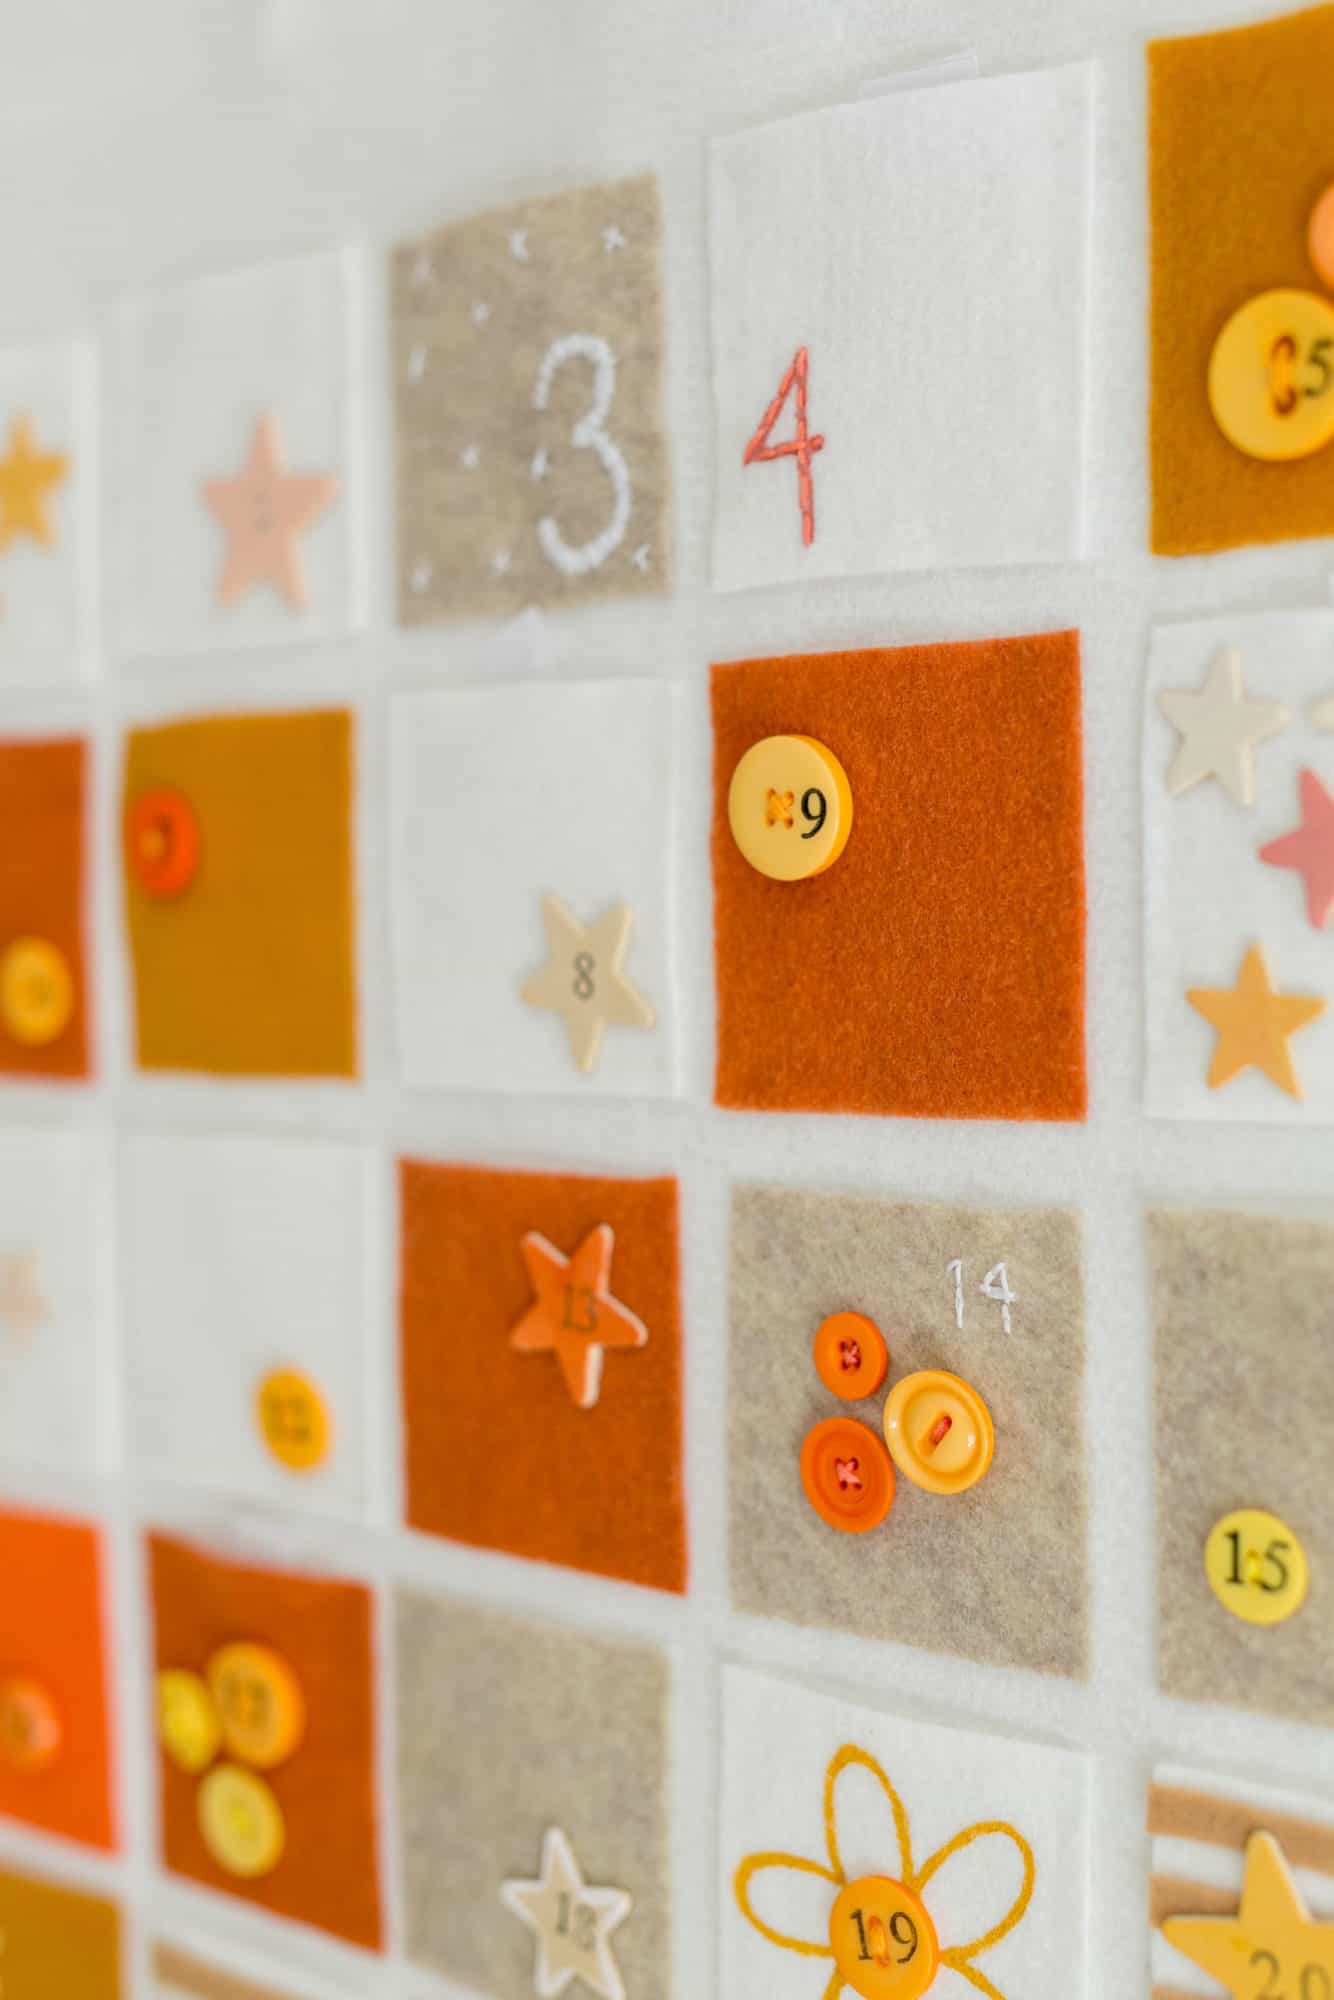
My complete flag is 18 inches in width and 32 inches in length. Each pocket is 3 × 3 inches.
 The first step is to cut your flag and the 31 pockets. I am to amend all the pockets before they go. You can also keep your likes.
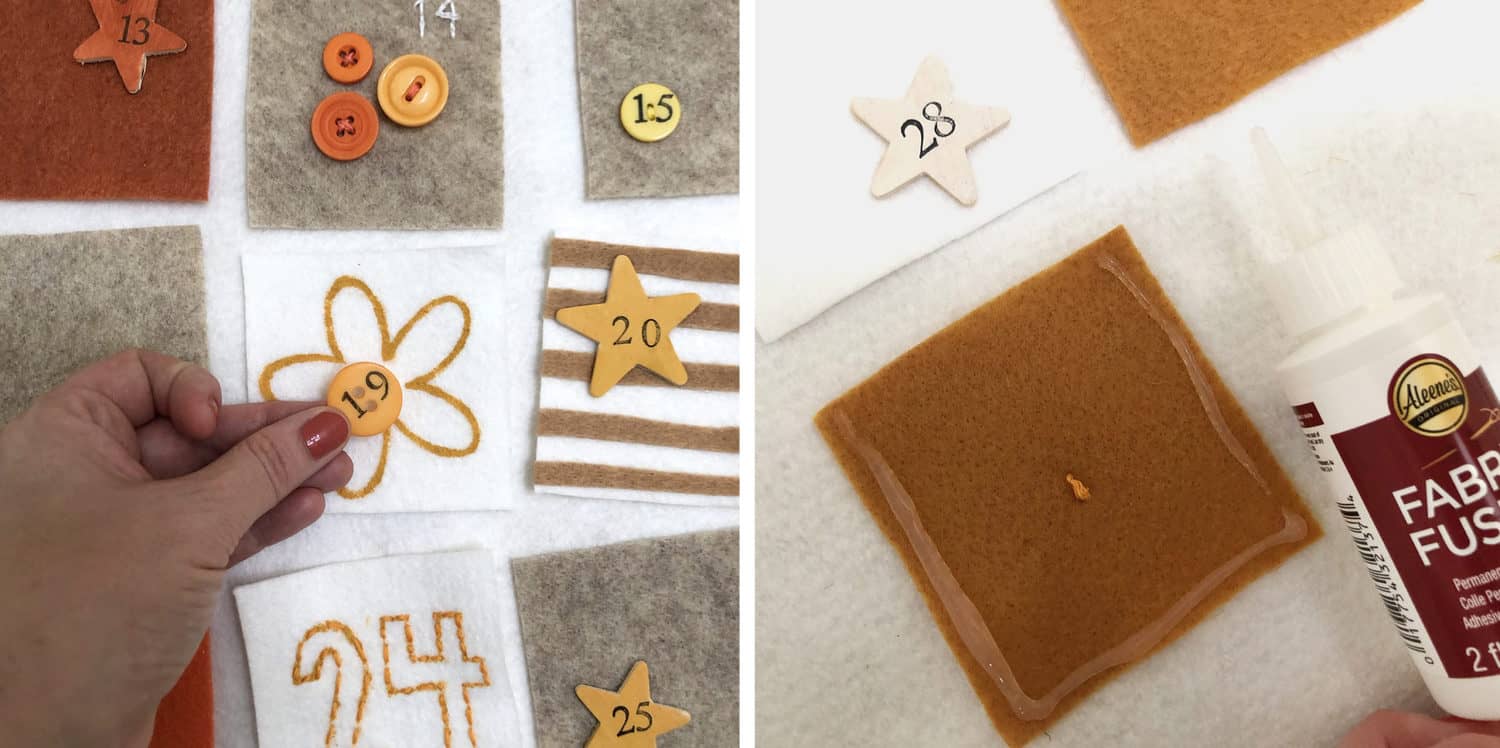
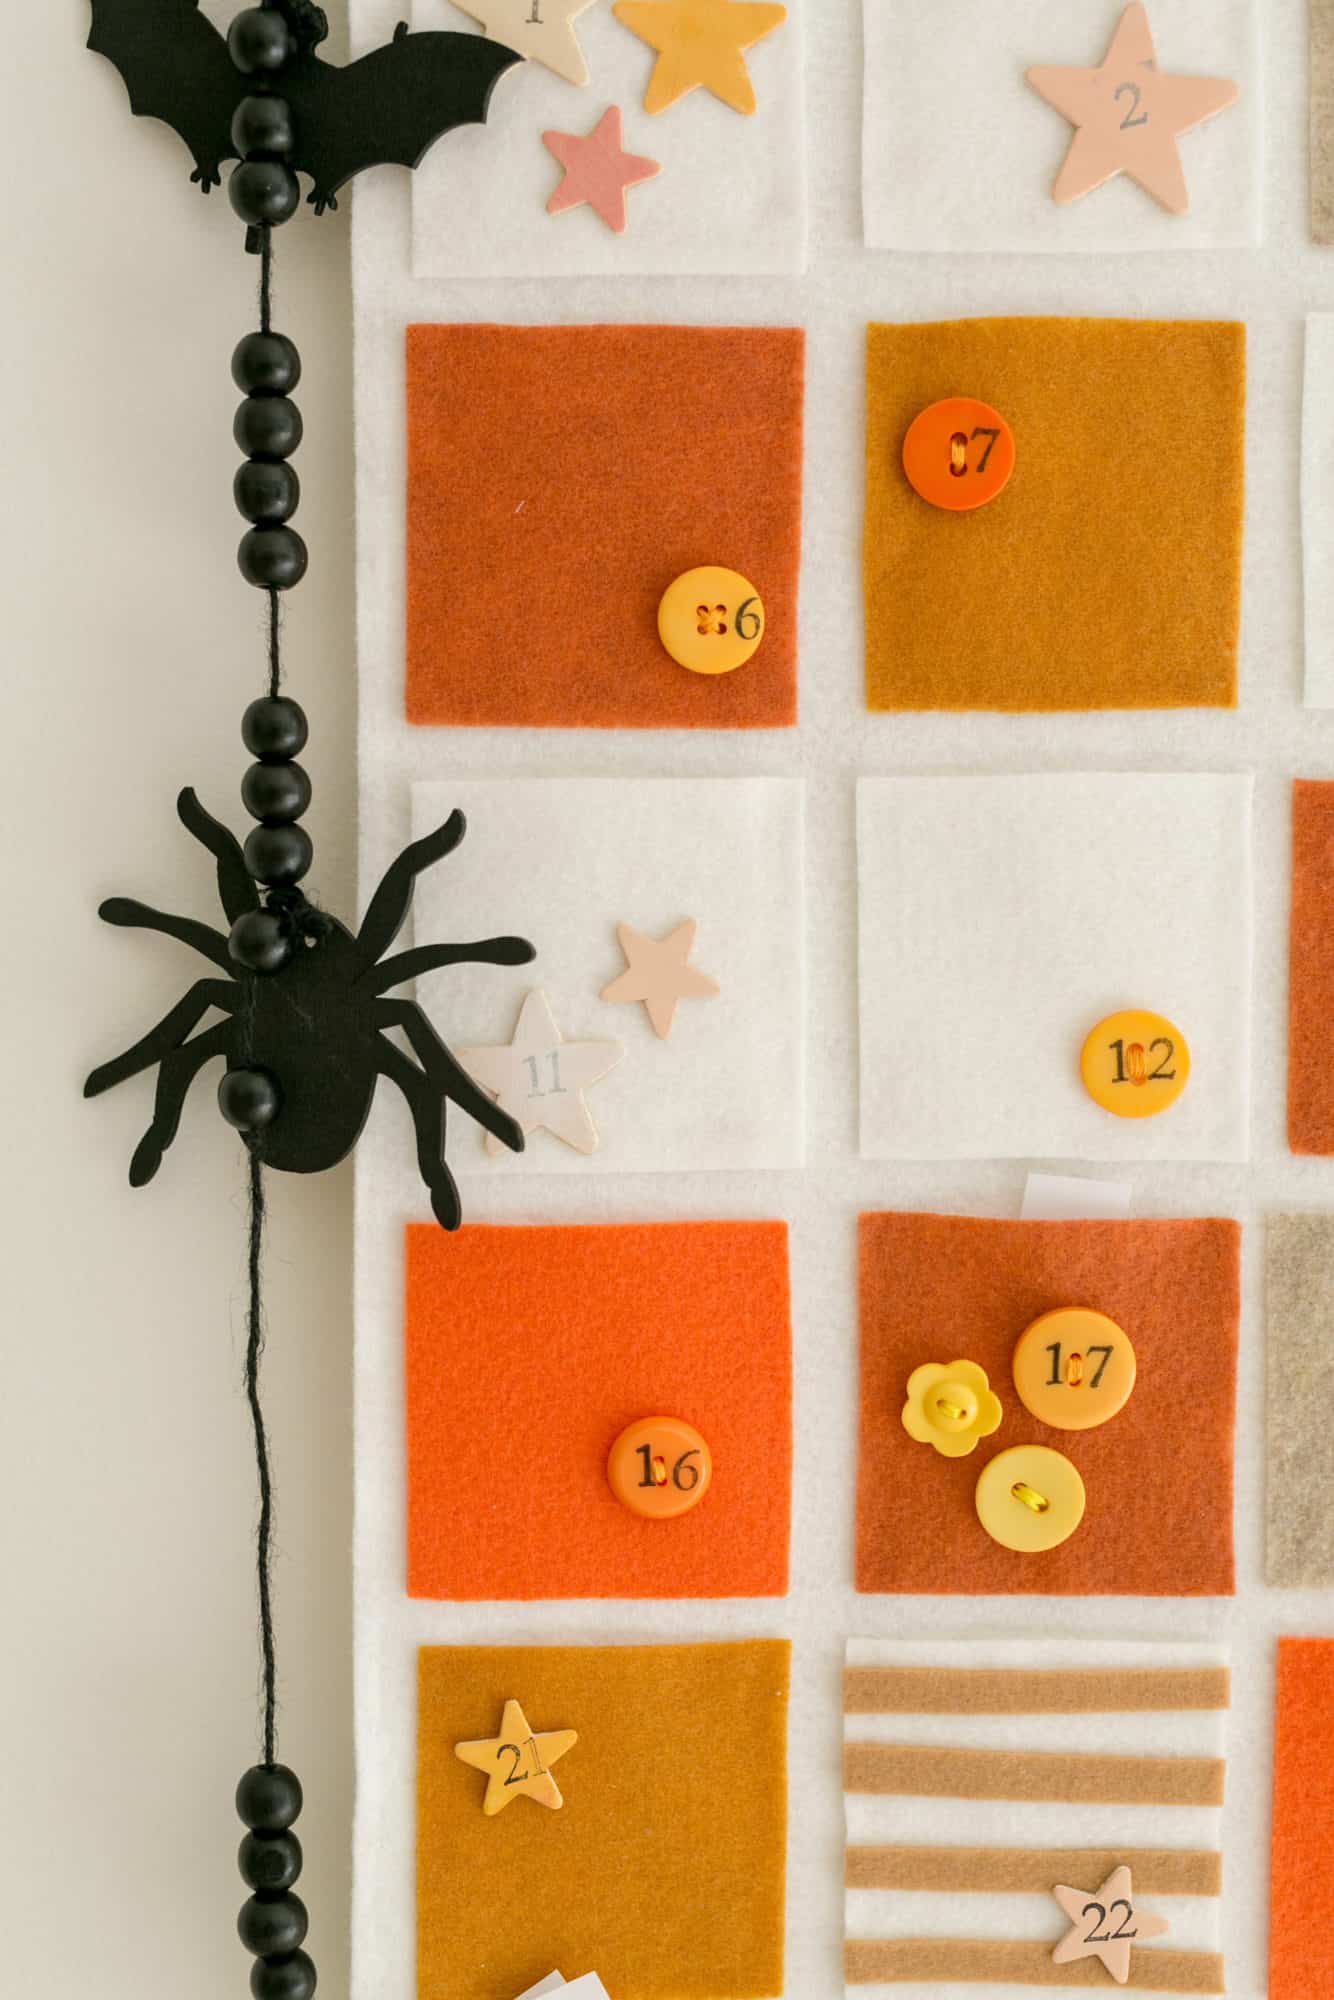
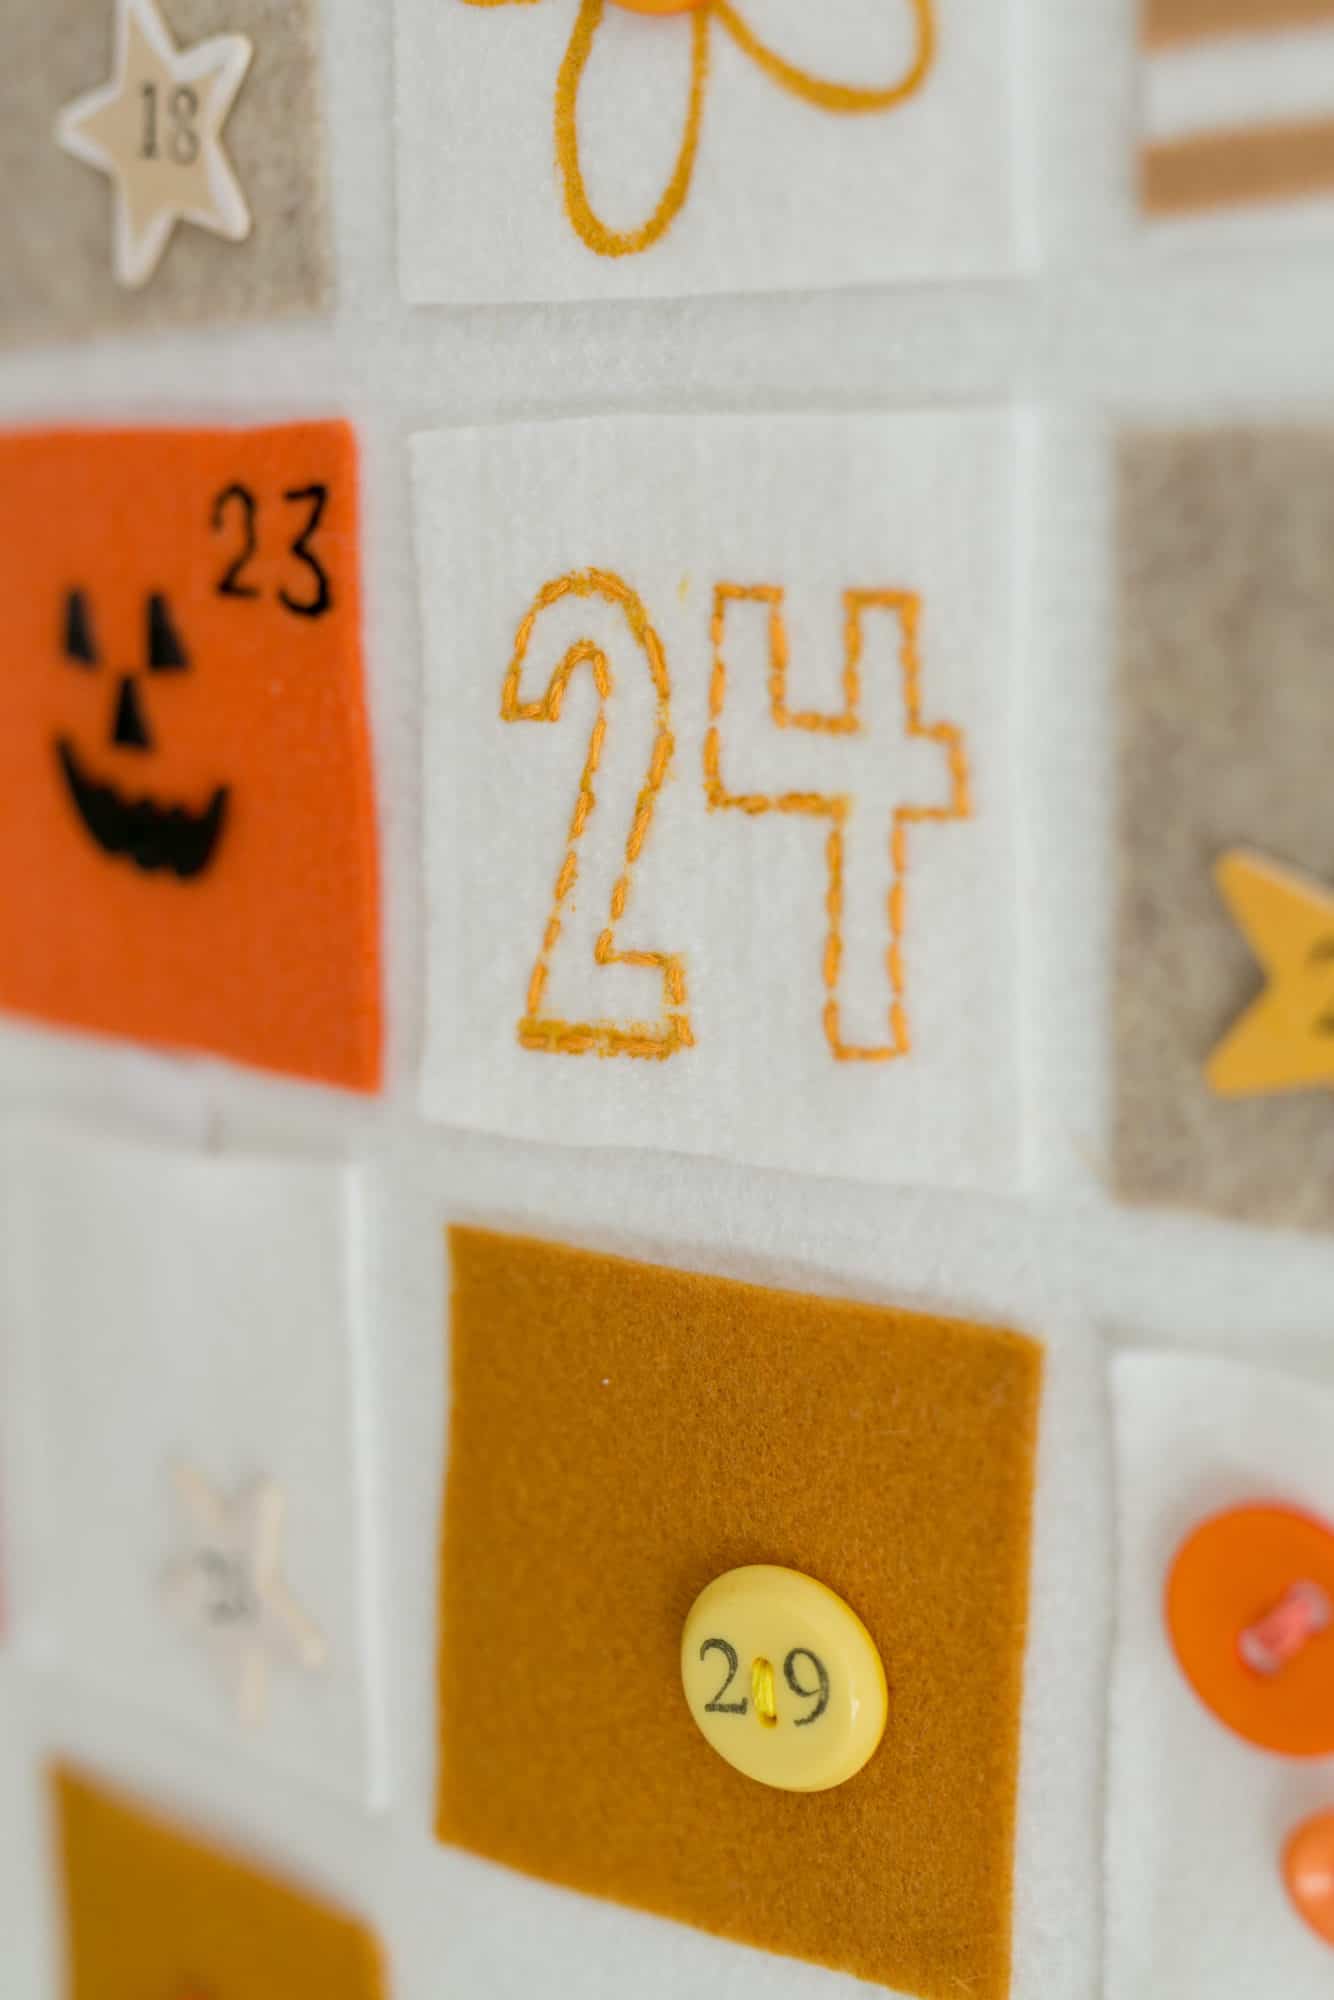
I want to put them all and get decorated until it feels. I do a lot of buttons buttons and stars. Buttons are shooted stitched and the stars of the tree are meant.
After all embellishments are made and dry, I use the glue on three sides of each piece of feeling that makes a pocket.
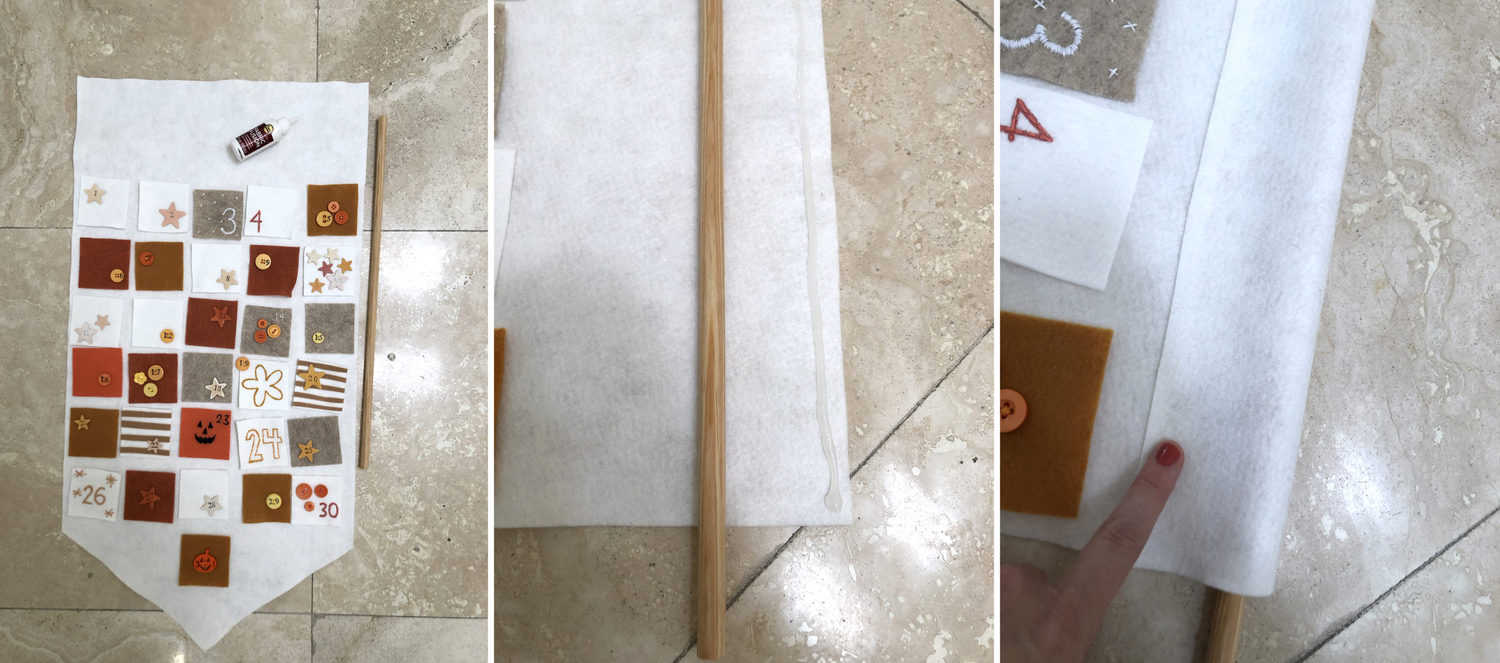 Next, use glue to create a loop holding your Dowel Rod. Then, tie a string on each side of the stick to hang it on the wall.
As you can see in my pictures below, I also use Halloween Garland to make my little bit more. This pumpkin button so cute.
Here’s the finished calendar! I can’t wait for October to start using it with our girls, but I want to post it early enough to have time to take the first tools and make your items before all the goods begin
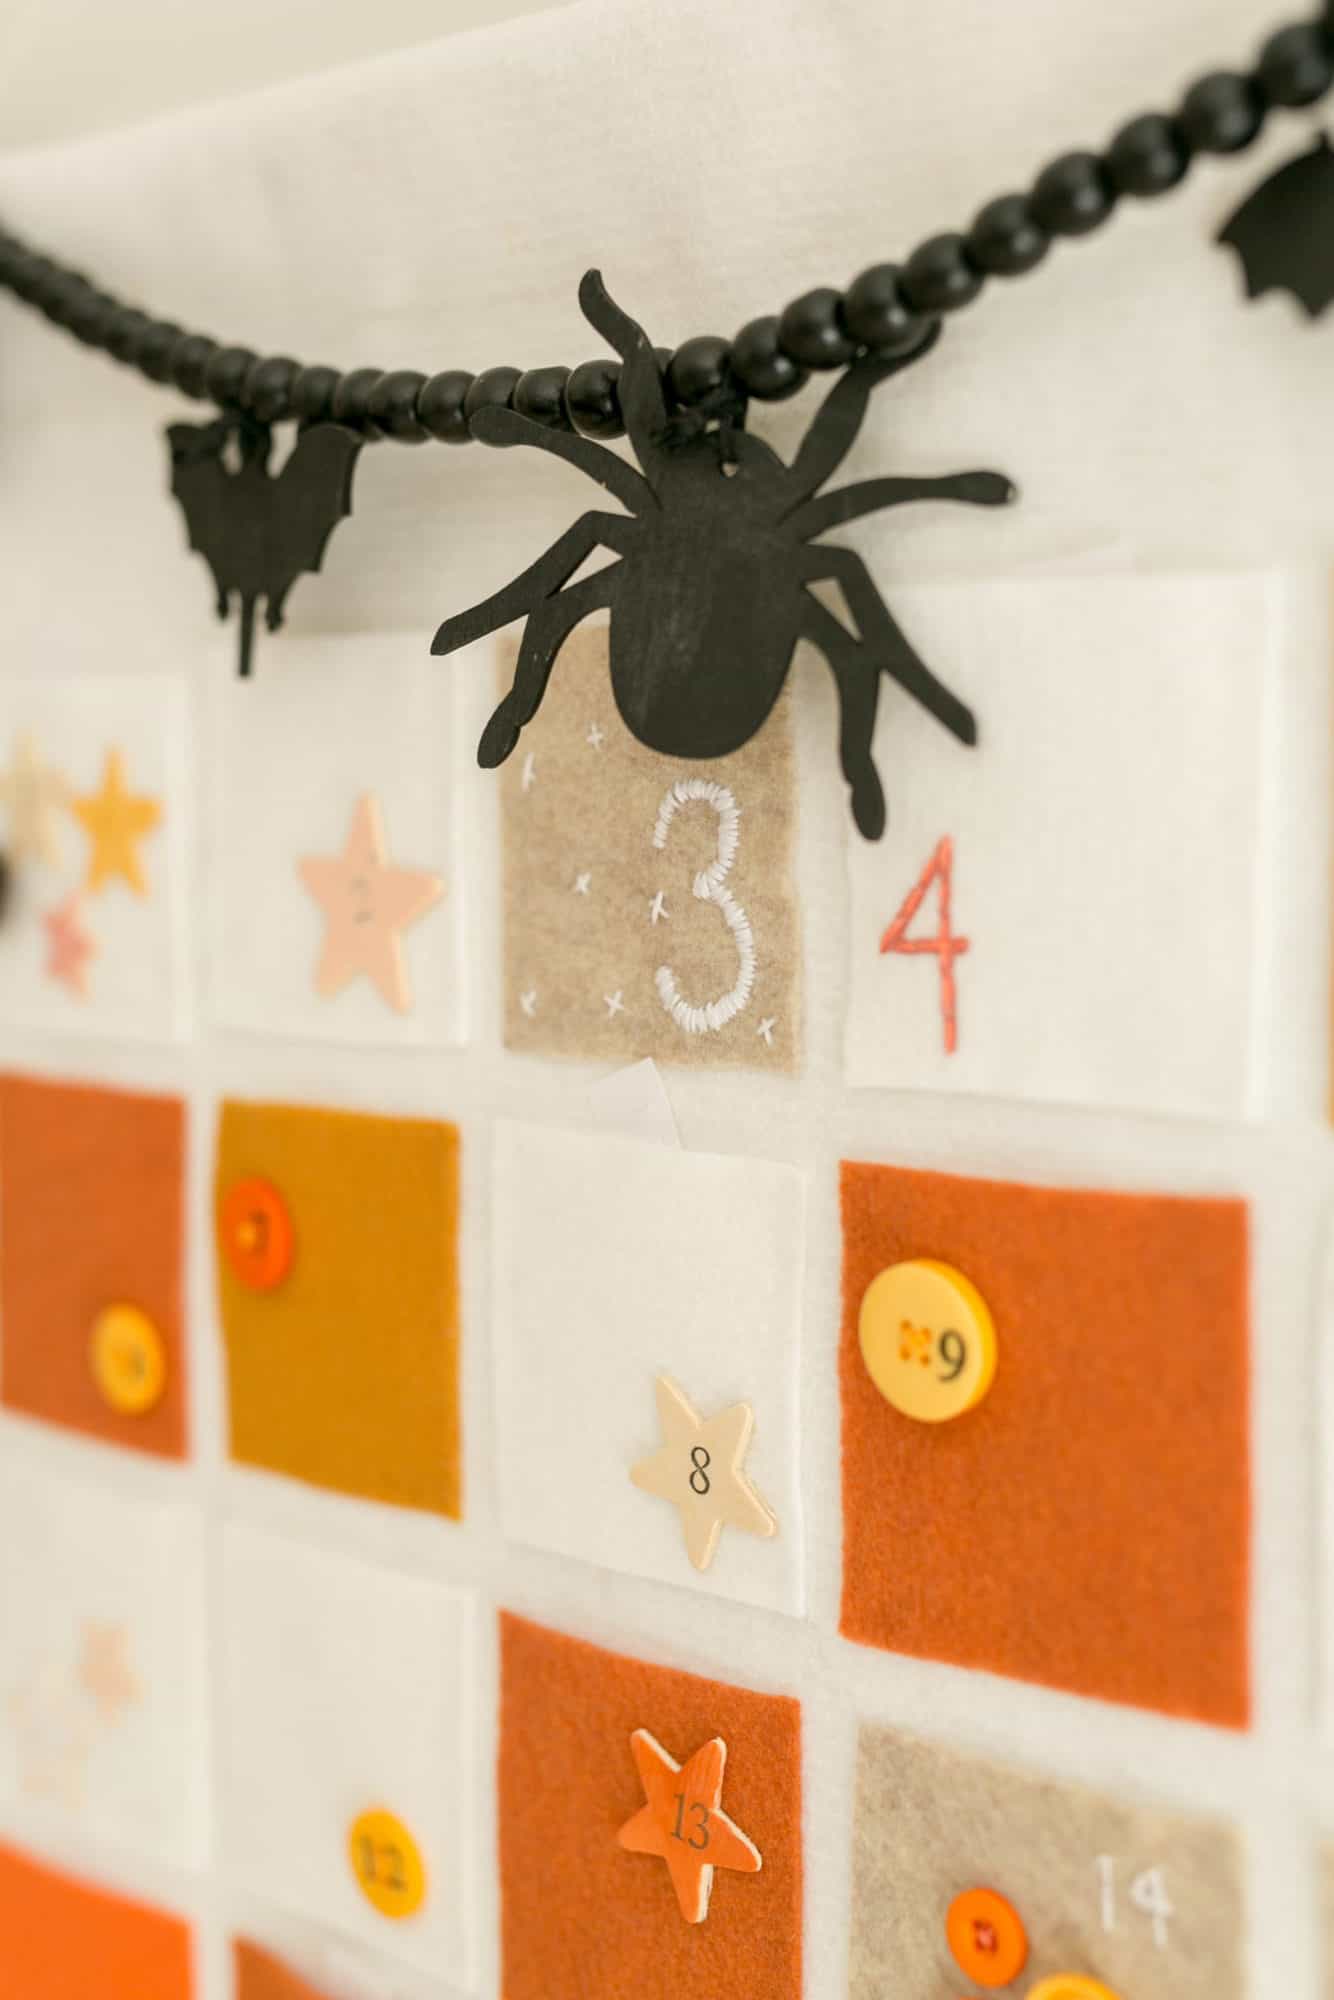


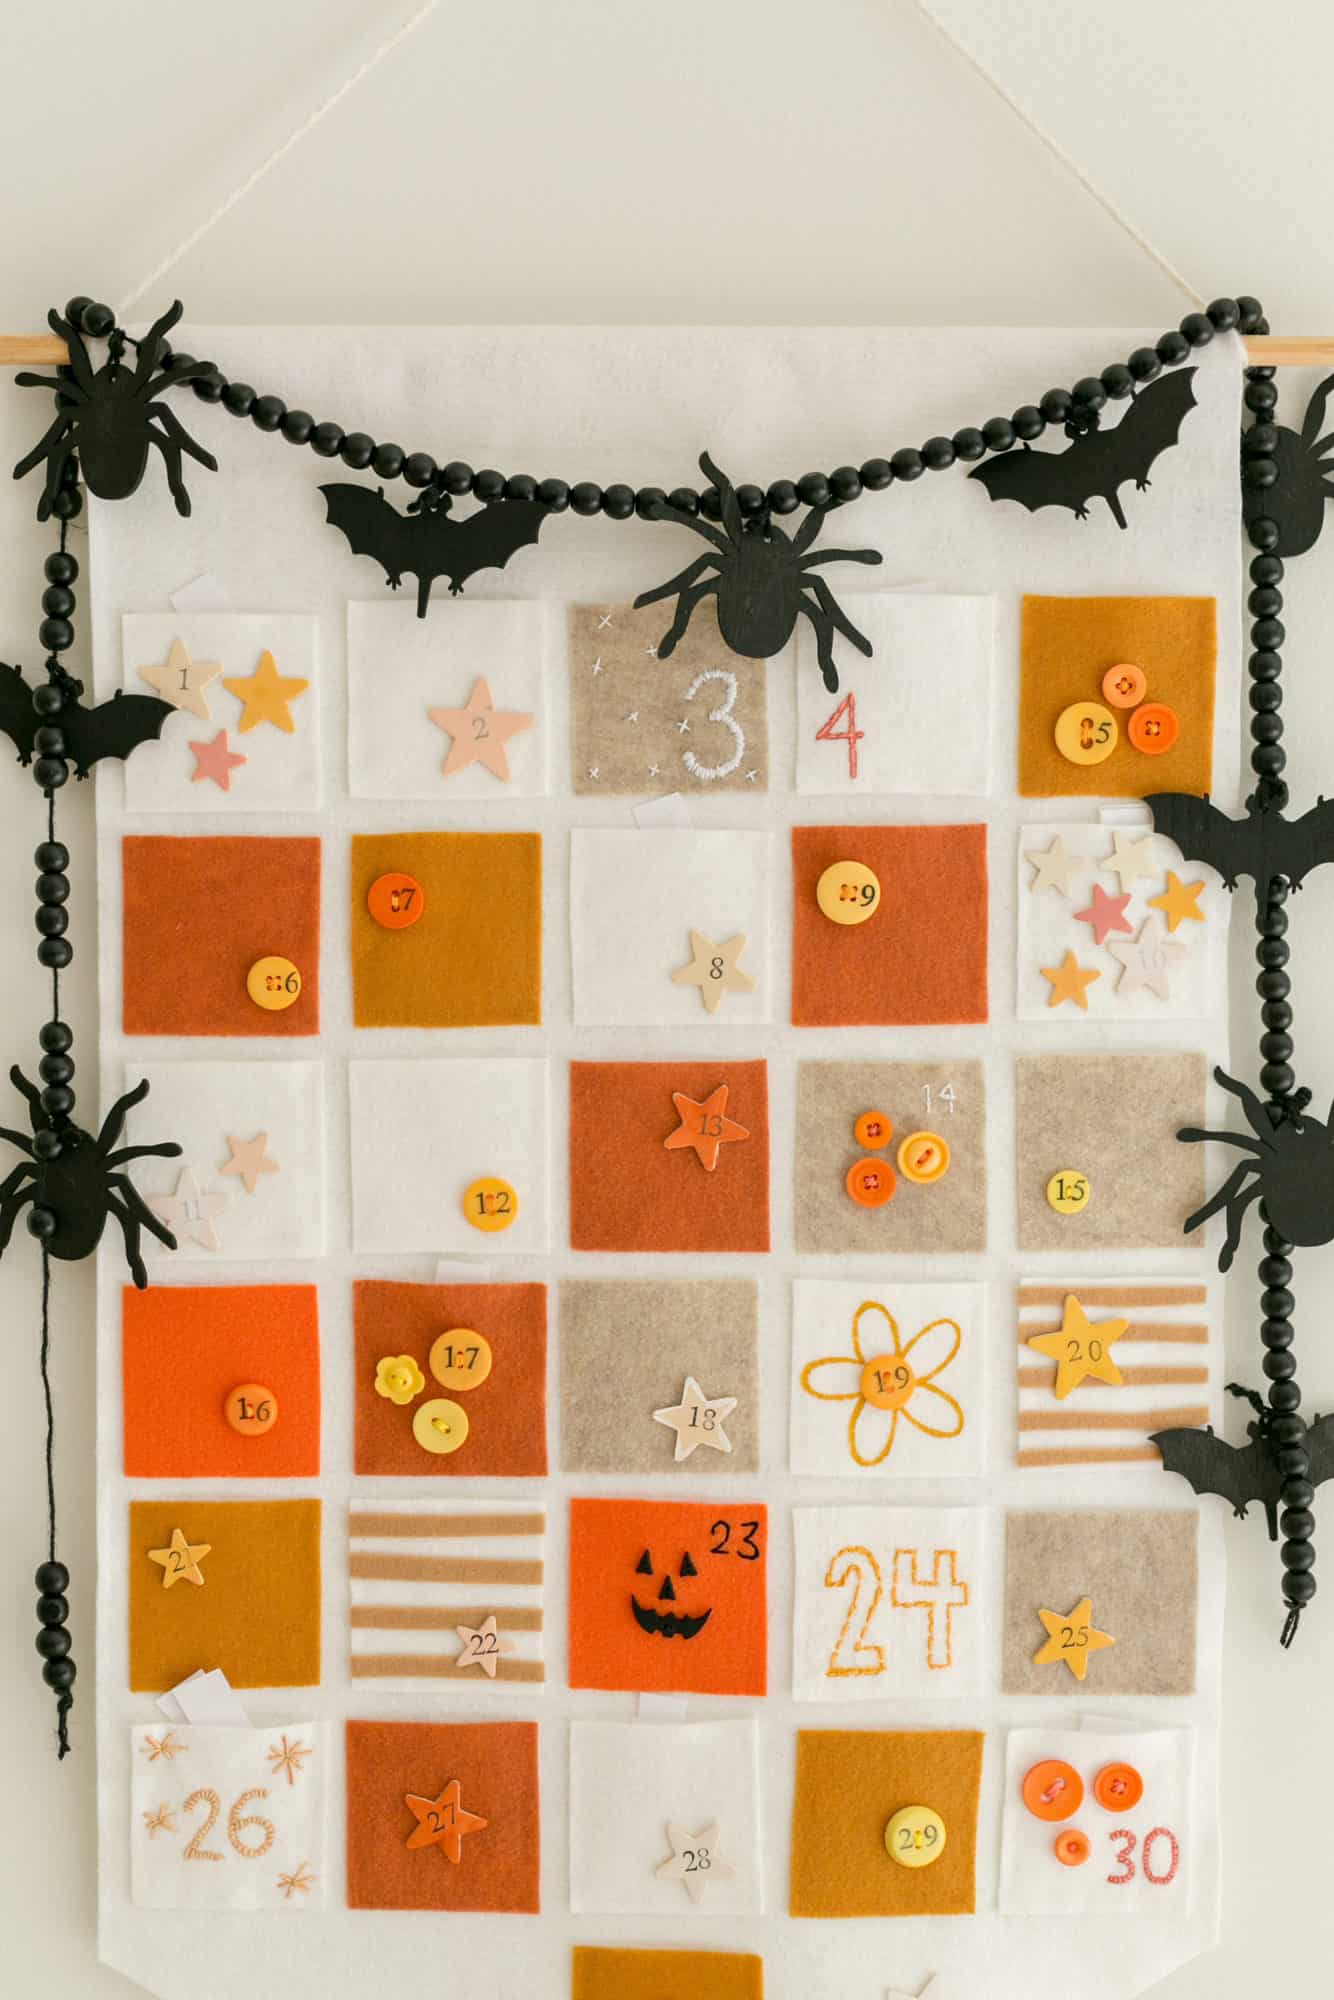
 It looks cute with a garland that hangs it too (Here’s a DIY for a cute spider parland tree!). Wishing you a couple of spooky weather. Take it up! xx. Elsie
Many Halloween Ideas
Love this post? Sign up for our Newsletter for more ideas!

Get creative ideas for recipes, art, decorations, and more in your inbox!

Get the way how
How to make a cute feeling calendar to count Halloween days!
Instructions
The first step is to cut your flag and the 31 pockets. I’m referring all the pockets before it’s gluing drops (you can also conform to them, but I just get moved and I don’t know where my sewing machine is currently at the moment).
- I want to put them all and get decorated until it feels. I do a lot of buttons buttons and stars. Buttons are shooted stitched and the stars of the tree are meant.After all embellishments are made and dry, I use the glue on three sides of each piece of feeling that makes a pocket.
Next, use glue to create a loop holding your Dowel Rod. Then, tie a string on each side of the stick to hang it on the wall.


